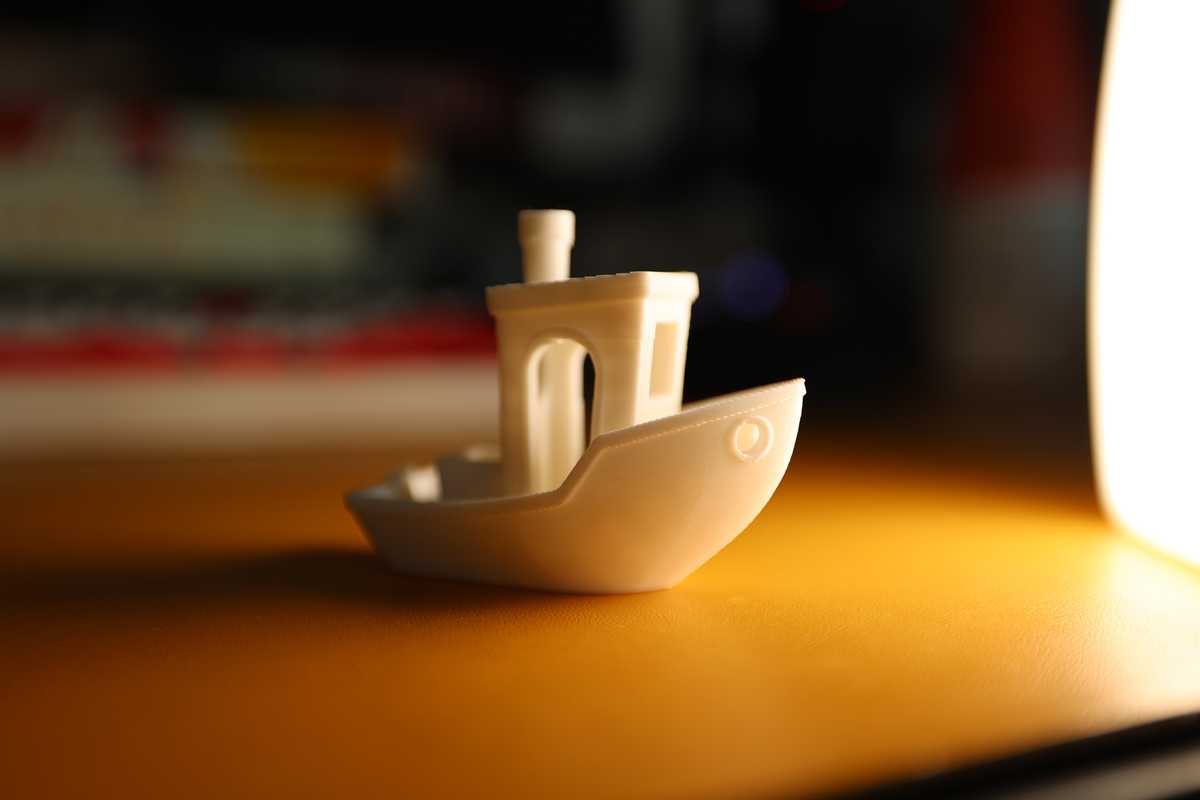
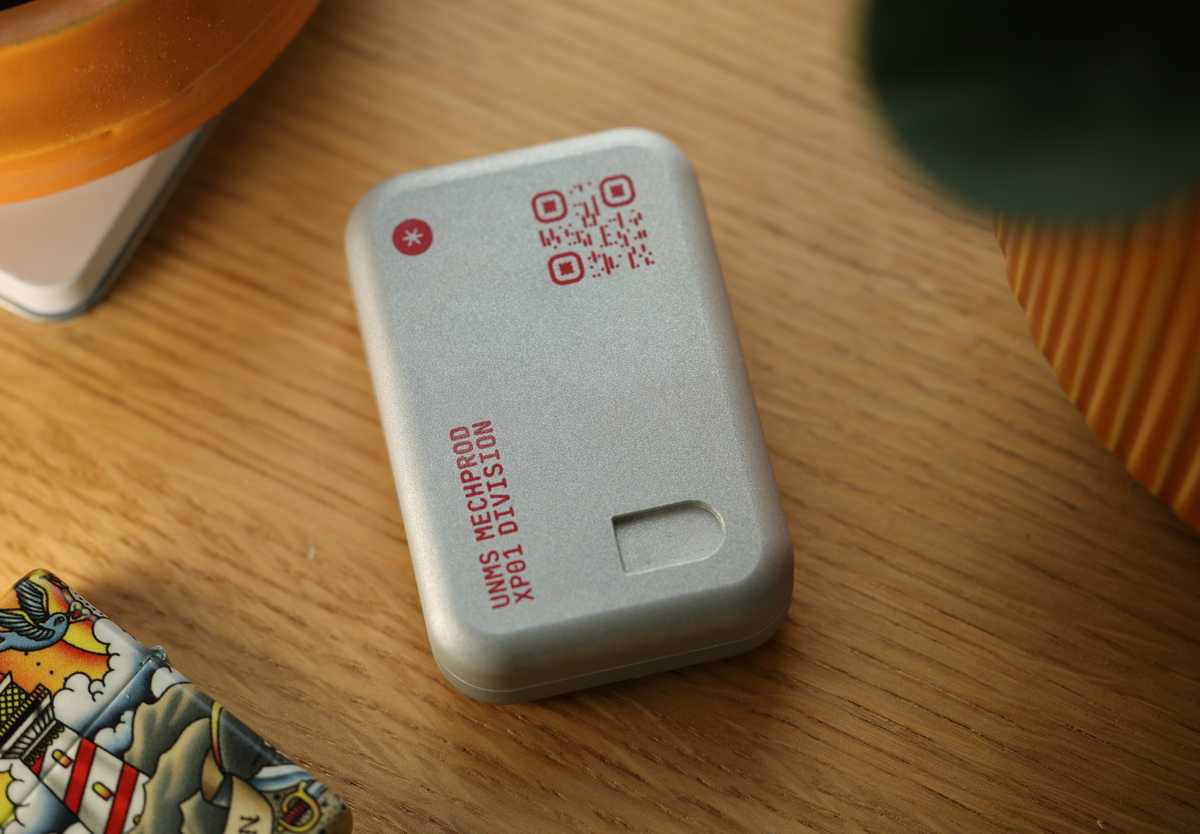
There's something magical about watching an idea materialize layer by layer. 3D printing has evolved from an expensive curiosity to a creative superpower that anyone can wield. And honestly? If you've been sitting on the fence about diving in, it's time to jump.
The best way to learn 3D printing is to just start. Grab a budget printer, download some modeling software, and within 24 hours you'll be holding something you imagined in your hands.


Picking a printer
For most, you have two main choices– FDM or resin?
| Printer Type | Pros | Cons | Best For |
|---|---|---|---|
| FDM (Filament) | • Beginner-friendly • Large build volumes • Safe materials • Affordable filaments | • Visible layer lines • Limited fine detail • Support material needed | Prototypes, functional parts, large objects, learning |
| Resin (SLA/LCD) | • Incredible detail • Smooth surfaces • No visible layers • Fast for small objects | • Toxic fumes • Messy post-processing • Small build volume • Expensive materials | Miniatures, jewelry, dental models, highly detailed parts |
| Multi-Material FDM | • Multiple colors/materials • Soluble supports • Complex assemblies • Professional results | • Expensive machines • Material waste • Complex calibration • Slower prints | Professional prototypes, multi-color objects, complex geometries |
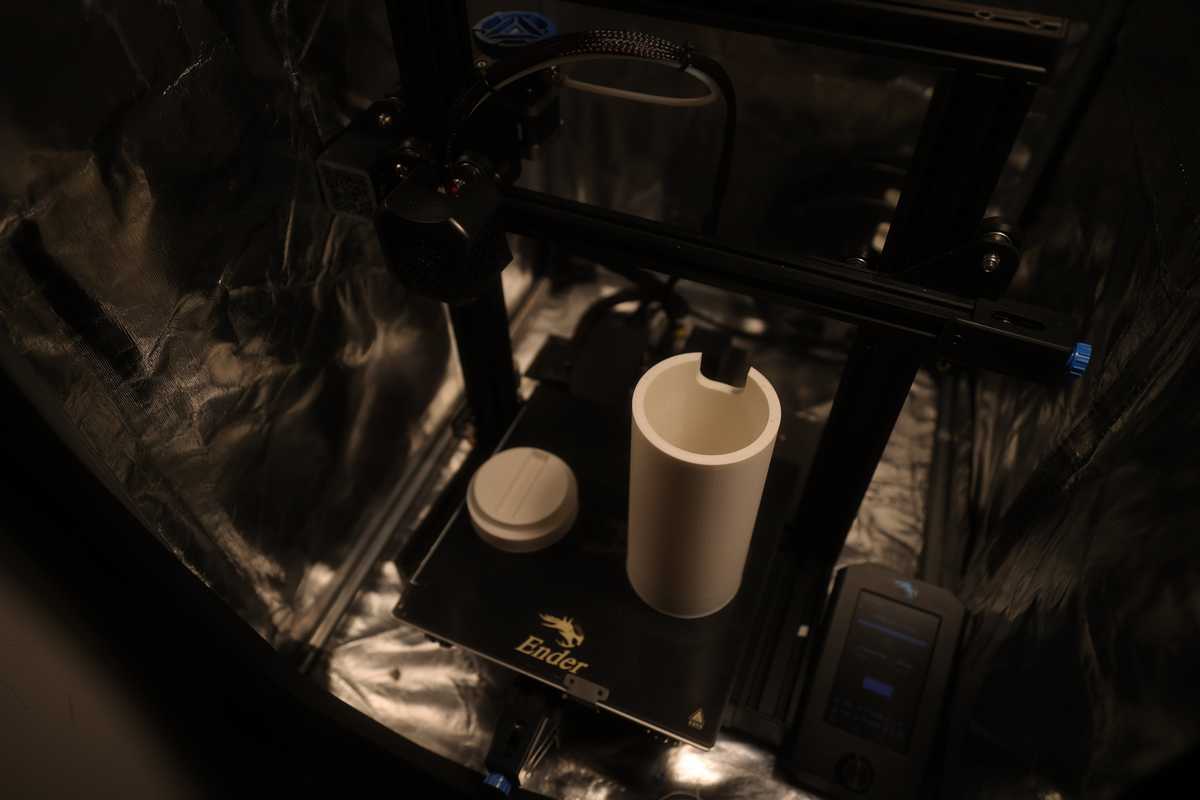
I started with an Ender 3 V2 from Creality and it's been a reliable work horse for most of my prototyping work. A year later I upgraded to an AnkerMake printer primarily for the convenience of auto-levelling, and automatic calibrations.
The newer generation of printers (looking at Bambu Lab) are basically plug-and-play. They've removed most of the friction that used to scare people away. They're fast too, often halving print times when dialed in properly.
I mainly work with FDM printers for my work. The level of complexity and detail is ideal for making functional prototypes and iterating on them quickly. From there it's fairly straightforward to have your parts machined professionally, or resin printed when you need the higher quality.
The rest of this post applies only to FDM printers.
Maintaining your printer
These machines need love. They drift out of calibration, parts wear down, and each filament brand has its own personality that you need to adjust to. Modern printers handle most of the finicky calibration work automatically. Auto-bed leveling, filament sensors, and smart detection systems mean you spend less time fighting the machine and more time creating.
That said, even the smartest printer can't maintain itself. You'll occationally have to lubricate and clean moving parts, and replace parts like the nozzle that wear with use.
| Maintenance Area | What to Watch For | Tips |
|---|---|---|
| Bed Leveling | • First layer not sticking • Nozzle too close/far from bed • Uneven first layer thickness | Check before every few prints. Use paper test method. Consider auto-leveling sensors for consistency. |
| Nozzle Maintenance | • Clogs and jams • Inconsistent extrusion • Stringing between parts | Clean with needle tool between filament changes. Cold pulls with cleaning filament monthly. |
| Extruder | • Gear wear and slipping • Filament grinding • Under-extrusion issues | Keep tension balanced - not too tight or loose. Clean debris from gears regularly. |
| Belt Tension | • Layer shifting • Dimensional inaccuracy • Loose or over-tight belts | Belts should twang like guitar strings when plucked. Check every few months or after moving printer. |
| Frame & Bolts | • Loose screws from vibration • Frame wobbling • Print quality degradation | Quarterly check of all connections. Use thread locker on critical bolts. |
| Lubrication | • Squeaking or grinding sounds • Jerky movements • Increased motor noise | Light machine oil on rods and bearings monthly. Avoid over-lubrication which attracts debris. |
Finding models to print
The world of 3D models is vast and welcoming. You've got three main paths:
Download and print: Sites like Thingiverse, Printables, and MyMiniFactory are treasure troves. Free models for everything from practical organizers to decorative art. It's instant gratification – find, download, slice, print.
Modify existing models: Found something close but not quite right? Tools like Tinkercad let you mashup and modify existing designs. It's like LEGO for grown-ups, but digital.
Create from scratch: This is where the real magic happens. You're limited only by imagination (and physics, but even that's negotiable).
For modeling software, you have options for every skill level:
| Software | Type | Description | Best For |
|---|---|---|---|
| Tinkercad | Browser-based | Drag-and-drop simplicity. Perfect for beginners or quick modifications. Don't let the simplicity fool you – it's surprisingly capable. | Beginners, quick edits |
| Fusion 360 | Parametric CAD | Industry-standard parametric modeling. Free for personal use. Steep learning curve but incredibly powerful. | Functional parts, mechanical design |
| Blender | 3D Modeling | Free, open-source, and infinitely capable. Better for artistic models than mechanical parts. The interface is intimidating but YouTube University will get you there. | Artistic models, organic shapes |
| OpenSCAD | Code-based | Code-based modeling for programmers. Write your designs in text. Sounds weird until you try parametric design – change one variable and your entire model scales perfectly. | Programmers, parametric design |
| Onshape | Cloud CAD | Cloud-based CAD that runs in your browser. Professional-grade tools without the installation headaches. | Professional design, collaboration |
Start with something simple. Model a phone stand. A replacement part for something broken. A custom hook for your wall. The satisfaction of printing something you designed yourself is unmatched.
Preparing your model for printing
Usually your printer will come with some recommended software for "slicing" your models and sending them to your printer. This is the process that takes your model and converts it into the instructions your 3D printer should follow when printing the model. This includes things like print temperature, speed, layer height, and support structures.
Popular slicers include Cura (free and beginner-friendly), PrusaSlicer (excellent auto-settings), and Bambu Studio (for Bambu printers). Most work with any printer brand once configured properly.
Your slicer takes that 3D model and breaks it down into hundreds (or thousands) of layers, each one a precise choreography of movements. You will often find yourself tweaking your setting here to improve the quality of your prints.
| Setting | What It Does | Common Values | Tips |
|---|---|---|---|
| Layer Height | Thickness of each printed layer. Lower = more detail, higher = faster prints | 0.1mm (high detail) 0.2mm (standard) 0.3mm (fast/draft) | Start with 0.2mm. Use 0.1mm for miniatures, 0.3mm for prototypes |
| Print Speed | How fast the nozzle moves during printing | 40-60mm/s (safe) 80-100mm/s (fast) 20-30mm/s (detailed) | Slower = better quality. Speed up outer walls last |
| Infill Percentage | How much material fills the inside of your print | 10-15% (decorative) 20-30% (functional) 50%+ (mechanical parts) | More isn't always better. 20% is plenty for most prints |
| Support Material | Temporary scaffolding for overhangs and bridges | None (45° rule) Touching buildplate Everywhere | Design to avoid supports when possible. They leave marks |
| Bed Adhesion | Extra material to help first layer stick | None (good bed prep) Brim (wide base) Raft (full platform) | Clean bed + proper leveling beats adhesion aids |
| Retraction | Pulling filament back to prevent stringing | Direct drive: 0.5-2mm Bowden: 4-8mm Speed: 25-45mm/s | Too much retraction causes clogs. Tune gradually |
| Ironing | Smooths top surfaces by running hot nozzle over final layer | Enable: Top surfaces only Flow: 10-15% Speed: 15-25mm/s | Creates glass-like finish on flat tops. Increases print time significantly |
Once you've sliced your model and sent it to your printer, the real work begins.
Those first few layers are critical. The foundation they create determines whether you'll have a successful print or a frustrating failure. Watch for proper adhesion, consistent extrusion, and even layer thickness. If something looks off early, it's better to stop and troubleshoot than waste hours and filament.
Modern printers often include features like filament runout detection, pause and resume functionality, and even cameras for remote monitoring.
Printing your model
When you're ready to print, your next critical decision is what material to use for your filament. The type of plastic you choose affects everything from print difficulty to final part properties.
Each material has its own personality and requirements. Some are forgiving beginners' friends, others demand precision and patience. Understanding these characteristics helps you match the right material to your project's needs.
| Material | Print Temp (°C) | Bed Temp (°C) | Difficulty | Properties | Best For |
|---|---|---|---|---|---|
| PLA | 190-220 | 0-60 | Beginner | • Easy to print • Biodegradable • Low warping • Sweet smell when printing | Prototypes, decorative items, learning projects |
| PETG | 220-250 | 70-80 | Intermediate | • Chemical resistant • Food safe options • Crystal clear variants • Strong and flexible | Containers, mechanical parts, outdoor applications |
| ABS | 220-260 | 80-110 | Advanced | • High temperature resistance • Impact resistant • Acetone smoothable • Prone to warping | Automotive parts, tools, high-stress applications |
| TPU (Flexible) | 210-230 | 20-50 | Advanced | • Rubber-like flexibility • Impact absorption • Difficult to print • Slow print speeds required | Phone cases, gaskets, wearables, toys |
| Wood-filled PLA | 180-220 | 0-60 | Beginner | • Contains real wood fibers • Sandable and stainable • Natural wood smell • Slightly abrasive to nozzles | Decorative objects, artistic projects, furniture prototypes |
| Carbon Fiber PLA | 190-220 | 0-60 | Intermediate | • Lightweight and strong • Matte finish • Abrasive to standard nozzles • Reduced layer adhesion | Drone parts, lightweight brackets, aesthetic upgrades |
When selecting filament for your project, consider factors like print temperature, bed adhesion, and material properties to ensure the best results.
Matte filaments, which provide a distinct look and feel to your printed objects are one of my favorites. I use it almost exclusively for most prototypes and things I print for everyday use.
Post-processing
sPost-processing is where good prints become great ones, and where you can push quality beyond what most people expect from FDM printing.
The amount of post-processing depends on your intended use. A prototype might need nothing more than support removal, while a display piece could benefit from extensive finishing work.
| Technique | What It Does | Materials Needed | Difficulty | Best For |
|---|---|---|---|---|
| Support Removal | Clean removal of support material without damaging the print | Flush cutters, needle-nose pliers, craft knife | Easy | All prints with supports |
| Sanding | Smooths layer lines and surface imperfections. Start coarse, finish fine | Sandpaper (120-600 grit), sanding blocks, dust mask | Easy | Visible parts, preparing for paint |
| Acetone Vapor Bath | Chemically smooths ABS prints to near-injection molded quality | Acetone, sealed container, heat source (hair dryer) | Intermediate | ABS prints requiring smooth finish |
| Primer & Paint | Hides layer lines and adds professional color finish | Automotive primer, acrylic paints, brushes/airbrush | Intermediate | Display pieces, cosplay props |
| Heat Gun Smoothing | Quickly melts surface layer to reduce visible lines | Heat gun, steady hand, practice parts | Advanced | PLA/PETG parts needing quick smoothing |
| Filler Primer | High-build primer fills layer lines and small gaps | Automotive filler primer, fine sandpaper (400-800 grit) | Intermediate | Parts requiring smooth painted finish |
| Thread Tapping | Cuts precise threads in printed holes for metal screws | Tap and die set, cutting oil, drill bits | Intermediate | Functional parts requiring threaded connections |
| Solvent Welding | Chemically bonds separate printed parts into assemblies | Appropriate solvent (acetone for ABS, etc.), ventilation | Advanced | Large assemblies, permanent joints |
Start simple. Remove supports cleanly, sand visible surfaces with 220-grit paper, and you'll be surprised how professional your prints look. The rabbit hole goes deep from there – vapor polishing, multi-stage painting, even electroplating are all possible.
For functional parts, focus on post-processing that improves performance rather than just appearance. Drilling out holes to precise dimensions, tapping threads for metal fasteners, and stress-relieving with gentle heat can transform a prototype into a production-ready part.
The key is matching your effort to the part's purpose. A test fit doesn't need perfect paint, but that cosplay helmet absolutely does.
Going to production
3D printing excels at rapid iteration and prototyping, but there comes a point where other manufacturing methods make more sense. Understanding when and how to transition from your desktop printer to professional manufacturing is crucial for taking projects from hobby to product.
When to move beyond 3D printing:
- Volume production: Once you need more than 10-20 identical parts, injection molding or machining becomes cost-effective
- Material requirements: Need metal, specific plastics, or properties your printer can't achieve
- Precision demands: Tolerances tighter than ±0.1mm consistently
- Surface finish: When layer lines and post-processing time become prohibitive
- Durability: Parts that will see heavy use, UV exposure, or chemical contact
Modern manufacturing accessibility:
Services like PCBWay, Protolabs, Xometry, and Craftcloud have democratized professional manufacturing. Upload your CAD file, select materials and finishing options, and receive professional parts in days. CNC machining, which once required expensive setups and minimum orders, is now accessible for one-offs at reasonable prices.

The hybrid approach:
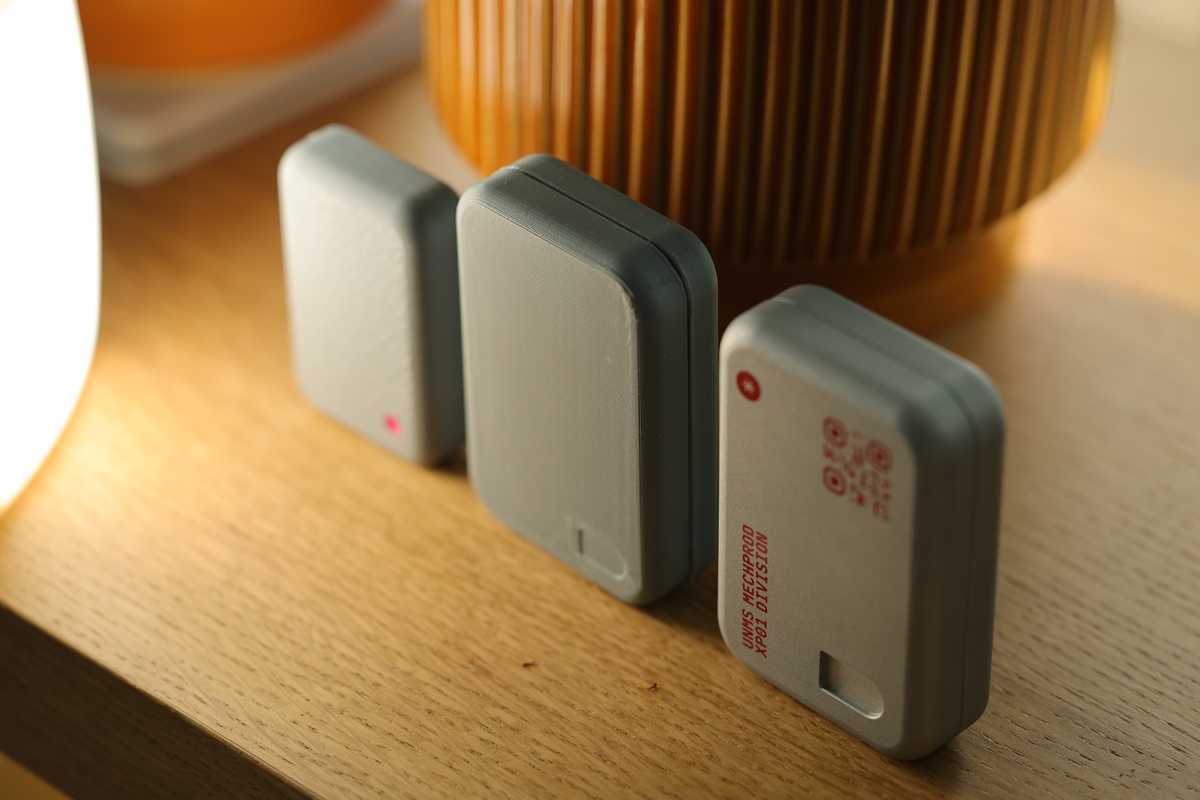
Use 3D printing for initial concepts and functional testing, then transition to professional manufacturing for refined versions. Print mounting brackets and jigs to assist with assembly. Create custom tooling for small-batch production. This workflow leverages the speed of 3D printing while achieving the quality and materials of traditional manufacturing.
Design for manufacturing transition:
When designing parts destined for professional production, consider manufacturing constraints early. Injection molding requires draft angles and uniform wall thickness. CNC machining needs accessible tool paths and reasonable tolerances. Design with both 3D printing prototypes and final manufacturing in mind from the start.
The magic happens when you use each process for what it does best – 3D printing for speed and iteration, professional manufacturing for quality and scale.
