After multiple failed attempts, I finally committed myself to making a mobile app. In the past, I retreated to my comfort zone of full-stack web development, drawn by the ease of provisioning servers and the luxury of continuous delivery. Why? Because building for mobile felt frustrating and slow–atleast until I figured out a good workflow for myself.

3 days to...
- Build a backend server running on AWS Elastic Beanstalk ✔️
- Design and develop the app using React Native ✔️
- Build for iOS and Android (including ejecting, linking, and other platform-specific tasks) ✔️
- Launch a TestFlight beta ✔️
- Debugging and improvement ❌

The idea
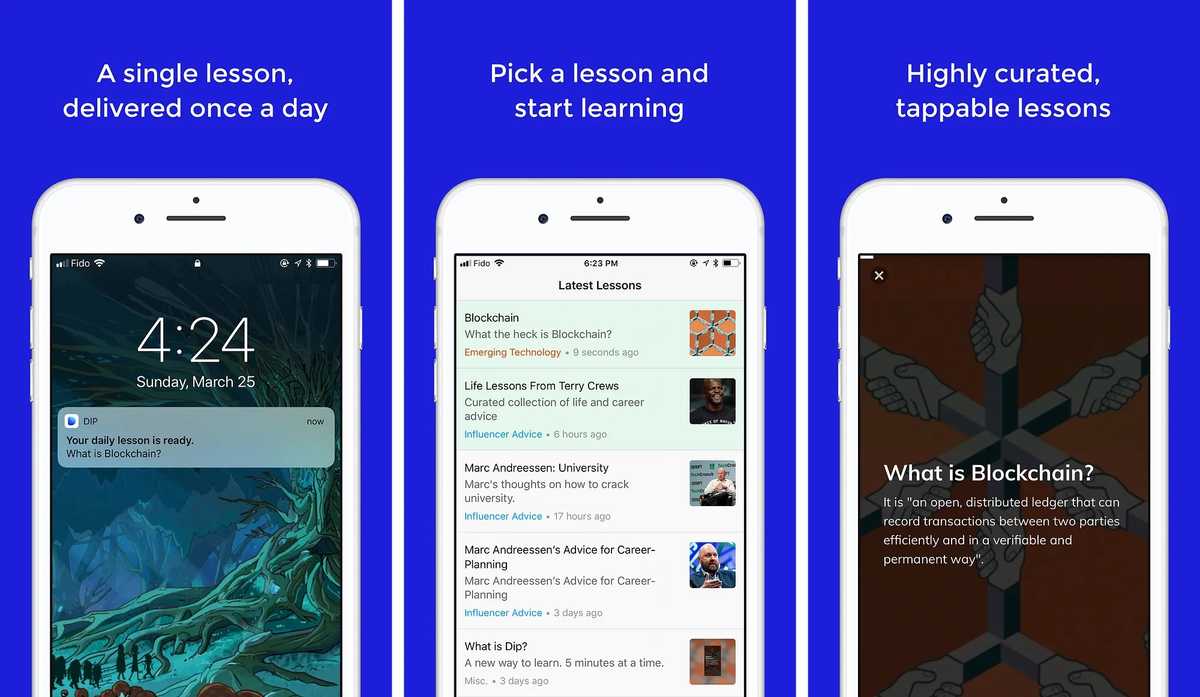
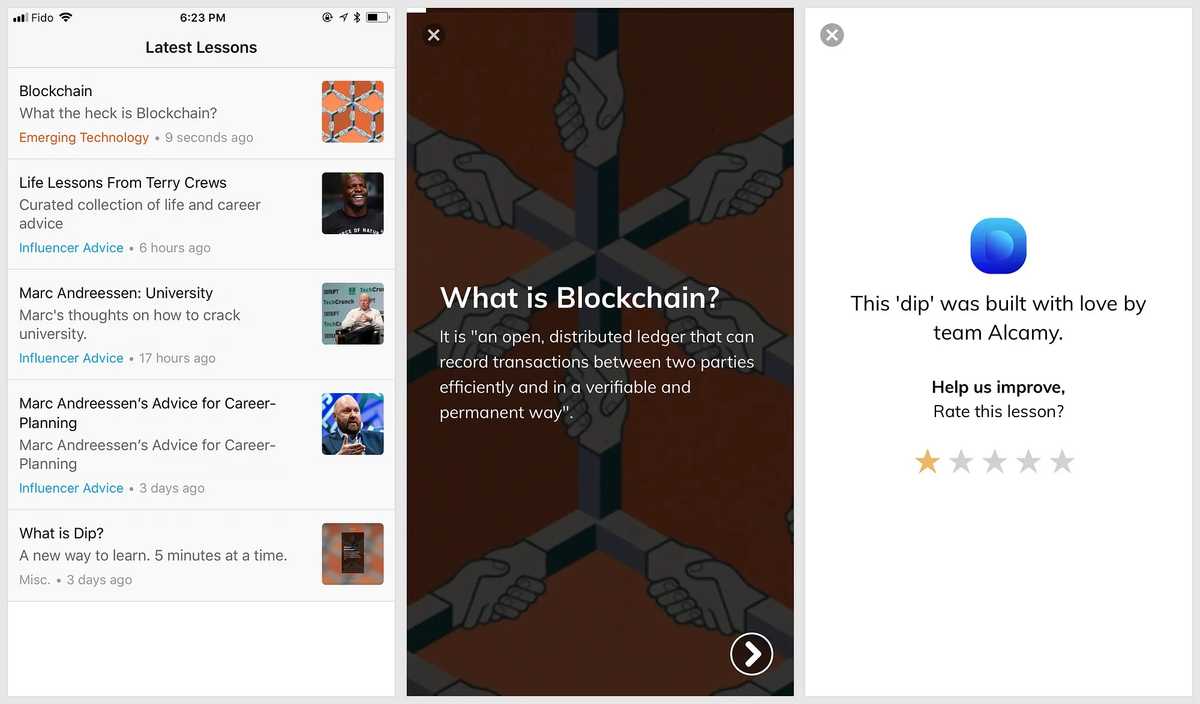
Hacking a Snapchat-story-esque format that people are already used to, and leveraging it productively to build a sustainable learning habit.
Is there anyone who doesn't want to learn something new every day? In reality, the hustle and bustle of daily life often get in the way. However, we still find time to scroll aimlessly through social media feeds multiple times a day.

Inspired by Product Hunt's Sip—a simple app that delivers one tech story per day in a tappable summary—I wondered: could this format work for mobile learning?
Technical stack & services:
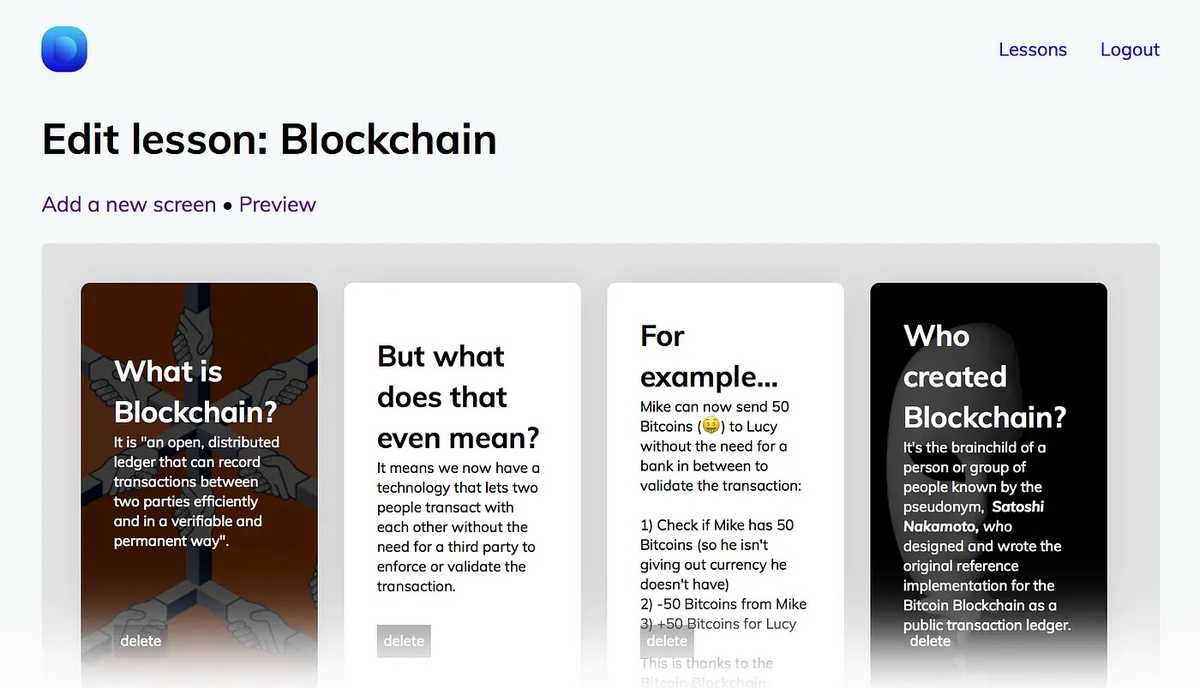
- Backend REST API and admin panel: Laravel, deployed on AWS Elastic Beanstalk.
- React Native: For building native apps for iOS and Android.
- OneSignal: For sending push notifications.
Timeline
Day -2: Pre-development I registered for the Apple Developer Program and Play Store Console a few days before actual development, knowing that approval could take time.
Tip: Plan to apply for the Apple Developer Program a full week ahead of when you want it. There’s a phone verification step and company verification through Dun & Bradstreet (if you’re registering as an organization).
Day 1: Backend (5 hours) Building the backend and web view was easy, given my experience in web development.

Developer problems: I ran into a bug while trying to deploy on AWS and had to spend almost half a day trying to fiure it out with support; while that was happening I continued with my process…
Day 1: React Native Intro (3 hours) I initially spent time looking for React Native CLIs and boilerplates, but soon realized I should start with the basics.
Tip: Before you go any further, setup Git on the entire folder and commit frequently. You will mess-up multiple times, and when you fail to trace back any changes you’ll be glad you could go back.
Day 1: Basic App Build (6 hours) Following the official tutorial was beneficial. I learned how to create components and route between screens.
Tip: ‘Eject’ the app as soon as you create it and follow any platform specific instructions and setup as you build on the React Native app.
Day 2: Data Fetch and Storage (6 hours) The next step was to fetch data from an API and display it in a list view.
Day 2: Preparing for Launch (5 hours) There’s big gap between a bare-bones functional React-Native app and getting it production ready. Most of the process of ‘ejecting’ your app and getting it ready to build for iOS and Android are well documented. Things I had to do:
- Ejecting the app for iOS and Android
- Installing Xcode and Android Studio
- Linking libraries and adding platform specific code; for example there’s a bunch of things you need to do to get notifications working correctly for iOS and Android.
- Figuring out how to sign the code correctly and get it ready for the respective platforms
- Designing and adding app icons and a splash screen (those blank logo-screens you see while the app loads)
Day 3: Finishing Touches (6 hours) I focused on last-minute changes, wrote marketing copy, and set up a Product Hunt Ship for managing beta and early access users.
The project went remarkably well, taking just about 2.5 days for the major work and some additional time for finishing touches. One of the biggest hurdles creators face is simply hitting 'publish.' There's always time for iteration and polish, but the primary goal should be to collect real feedback from real users– and that means getting it out there for people to try.